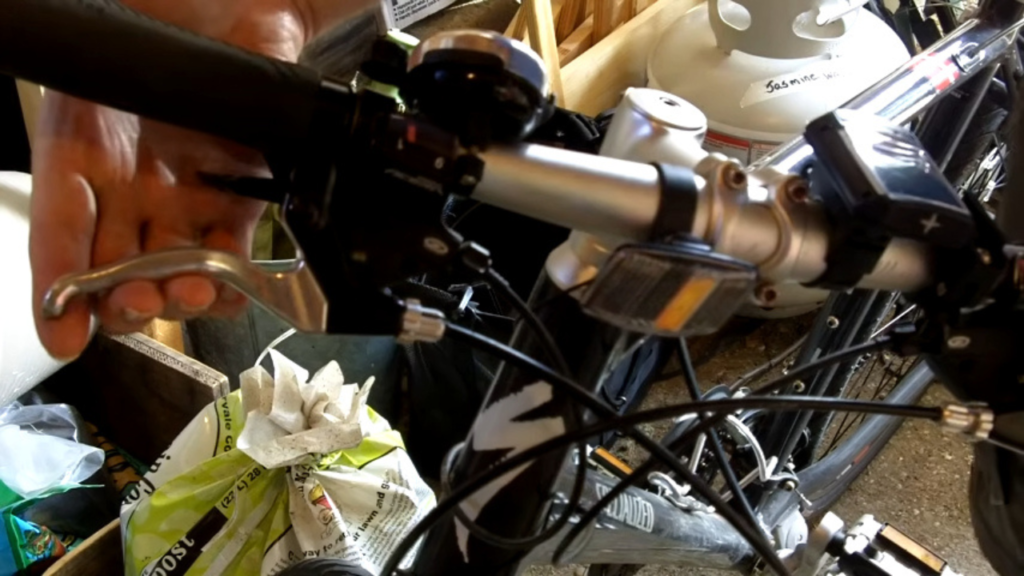
If you’ve noticed that your bike doesn’t stop as quickly as it used to or you have to squeeze the brake lever almost to the handlebar before the brakes respond, it’s probably time for a bike brake adjustment. Learning how to adjust bike brakes is one of the easiest maintenance skills every cyclist should know. A few small adjustments can make your brakes feel more responsive, improve your confidence while riding, and help keep you safe on the road.
Many riders think they need to replace parts whenever the brakes feel soft, but that’s not always true. In most cases, you can improve braking performance by making a simple adjustment to the brake system. This guide explains how to adjust brakes on a bike using an easy method that works for most bicycles equipped with rim or caliper brakes.
Table of Contents
Why Proper Bike Brake Adjustment Is Important
A properly adjusted braking system allows you to stop smoothly and confidently without using excessive force. When your brakes are correctly set, they begin working shortly after you pull the brake lever, giving you better control in traffic, on downhill roads, or during emergency stops.
If your brakes feel too loose, your stopping distance becomes longer, which can increase the risk of accidents. On the other hand, brakes that are adjusted too tightly may cause the brake pads to rub continuously against the wheel, making pedaling harder and wearing out the pads faster. That’s why knowing how to adjust bike brakes is an essential part of regular bike maintenance.
Understanding the Main Brake Components
Before learning how do you adjust brakes on a bicycle, it’s helpful to understand the basic parts involved. The brake lever is the handle you squeeze to slow down the bike. A brake cable connects the lever to the brake calipers, transferring the force from your hand to the braking system. The brake calipers move inward and press the brake pads against the wheel rim to slow the bike.
Most bicycles also have a barrel adjuster, sometimes called an adjustment knob, located near the brake lever or caliper. This small threaded part allows you to fine-tune cable tension without removing the cable. A lock nut sits beside it to keep the adjustment secure once you’re finished.
Inspect Your Brakes Before Making Any Adjustments
Before starting bike brake adjustment, take a few minutes to inspect your braking system carefully. Check that the brake pads still have enough rubber remaining and that they sit evenly against the rim. If the pads are badly worn, replacing them should be your first priority because adjustment alone won’t restore braking performance.
Next, inspect the brake cable for signs of fraying, rust, or damage. Also make sure the cable clamp bolt is firmly tightened. These simple checks ensure that your brakes are in good condition before making any adjustments.
Always remember to test your brakes carefully after any adjustment before riding your bicycle.
How to Adjust Bike Brakes Step by Step
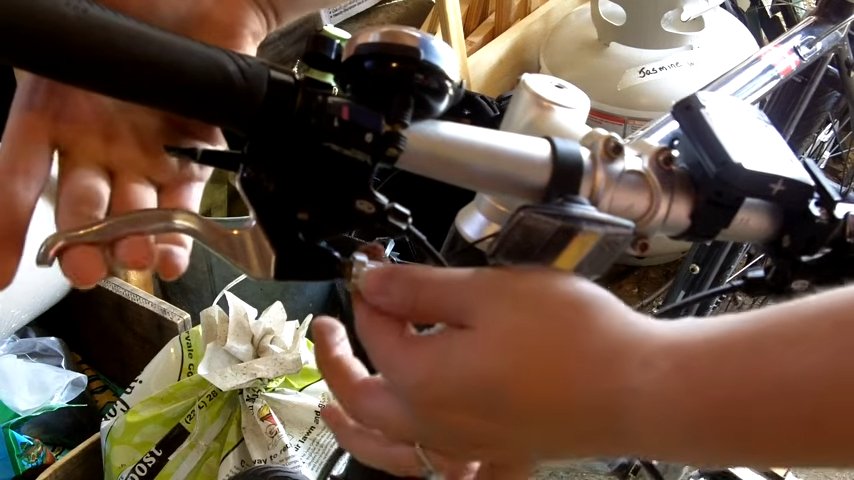
The easiest way to learn how to adjust bike brakes is by using the barrel adjuster instead of changing the brake cable length. This method is quick, beginner-friendly, and works well for most rim brakes and bike caliper brakes.
Start by loosening the lock nut next to the barrel adjuster. This allows the adjuster to turn freely. Once the lock nut is loose, gently squeeze the brake calipers together so the brake pads rest against the wheel rim.
While holding the calipers closed, slowly turn the barrel adjuster counterclockwise. This increases cable tension by effectively making the cable housing longer, causing the brakes to engage sooner when you pull the brake lever.
Release the calipers and test the brake lever several times. If the brakes now engage quickly and comfortably, you’ve successfully completed the bike brake adjustment.
Fine-Tuning the Brake Response
Sometimes the brakes may become slightly too tight after adjustment. If the brake pads begin rubbing the rim while the wheel spins, simply turn the barrel adjuster clockwise a small amount until the rubbing disappears.
The goal is to find the perfect balance where the wheels spin freely during normal riding while the brakes respond immediately when you squeeze the brake lever. This simple adjustment is the same basic process used for bicycle caliper brake adjustment on many standard bicycles.
Take your time during this step because even small adjustments can noticeably change braking performance.
How to Adjust Bike Caliper Brakes
If you’re wondering how to adjust bike caliper brakes, the process is almost identical to the method described above. Most caliper brake systems rely on a barrel adjuster to fine-tune the tension of the brake cable. Turning the adjuster slightly in either direction changes how quickly the brakes engage, allowing you to improve braking performance without removing or reconnecting the cable. If you’re looking for how to adjust caliper brakes on a bike, this simple adjustment is often enough unless the brake cable has become excessively stretched over time.
What If the Brakes Still Feel Loose?
Occasionally, the barrel adjuster reaches its maximum adjustment but the brakes still don’t engage soon enough. This usually means the brake cable has too much slack.
In this situation, the cable clamp bolt may need to be loosened slightly so the cable can be pulled tighter before securing it again. After tightening the cable, repeat the normal adjustment process using the barrel adjuster until you achieve the desired brake feel.
If you’re uncomfortable adjusting the cable yourself, it’s safer to ask a qualified bicycle mechanic for assistance.
How to Adjust Bike Disc Brakes
Many cyclists also search for how to adjust bike disc brakes or how to adjust disk brakes on a bike. While the basic goal remains the same—achieving strong braking without rubbing—the adjustment process for disc brakes is different from traditional rim or caliper brakes. Disc brake systems often require caliper alignment and, depending on the type of brakes, may involve different adjustment methods.
If your bicycle uses disc brakes, always follow the manufacturer’s recommended adjustment procedure instead of using the steps designed for rim brakes.
How to Fix Bike Brakes That Don’t Feel Right
Knowing how to fix bike brakes starts with identifying the actual problem. Soft brakes are commonly caused by cable slack, while constant rubbing usually indicates excessive cable tension or poor brake alignment. Worn brake pads should always be replaced rather than adjusted.
Regular inspection and maintenance will help you identify these issues before they become serious safety concerns.
Test Your Brakes Before Riding
Once you’ve finished adjusting your brakes, lift each wheel off the ground and spin it by hand. The wheel should rotate freely without the brake pads touching the rim. Then squeeze the brake lever firmly. The wheel should stop quickly and the lever should feel solid instead of soft.
Repeat this test for both the front and rear brakes. Never ride your bicycle until you’re confident that both brakes are working properly. Good bike safety always starts with reliable brakes.
Final Words
Learning how to adjust bike brakes is a valuable skill that every cyclist should know. In many cases, a simple bike brake adjustment using the barrel adjuster is enough to make your brakes feel quicker and more responsive without replacing any parts. Whether you’re learning how to adjust bike brake, how to adjust brakes on a bike, or how do you adjust brakes on a bicycle, the basic principles remain the same: inspect your braking system, make careful adjustments, and test everything before riding.
If your bicycle uses rim brakes, this method is usually all you need for routine maintenance. However, if you’re researching how to adjust bike disc brakes or how to adjust disk brakes on a bike, remember that those systems require a different adjustment procedure. Taking a few minutes to maintain your brakes regularly will improve performance, increase bike safety, and help ensure every ride is both smooth and confident.
